Introduction to Garlic Bread Rolls
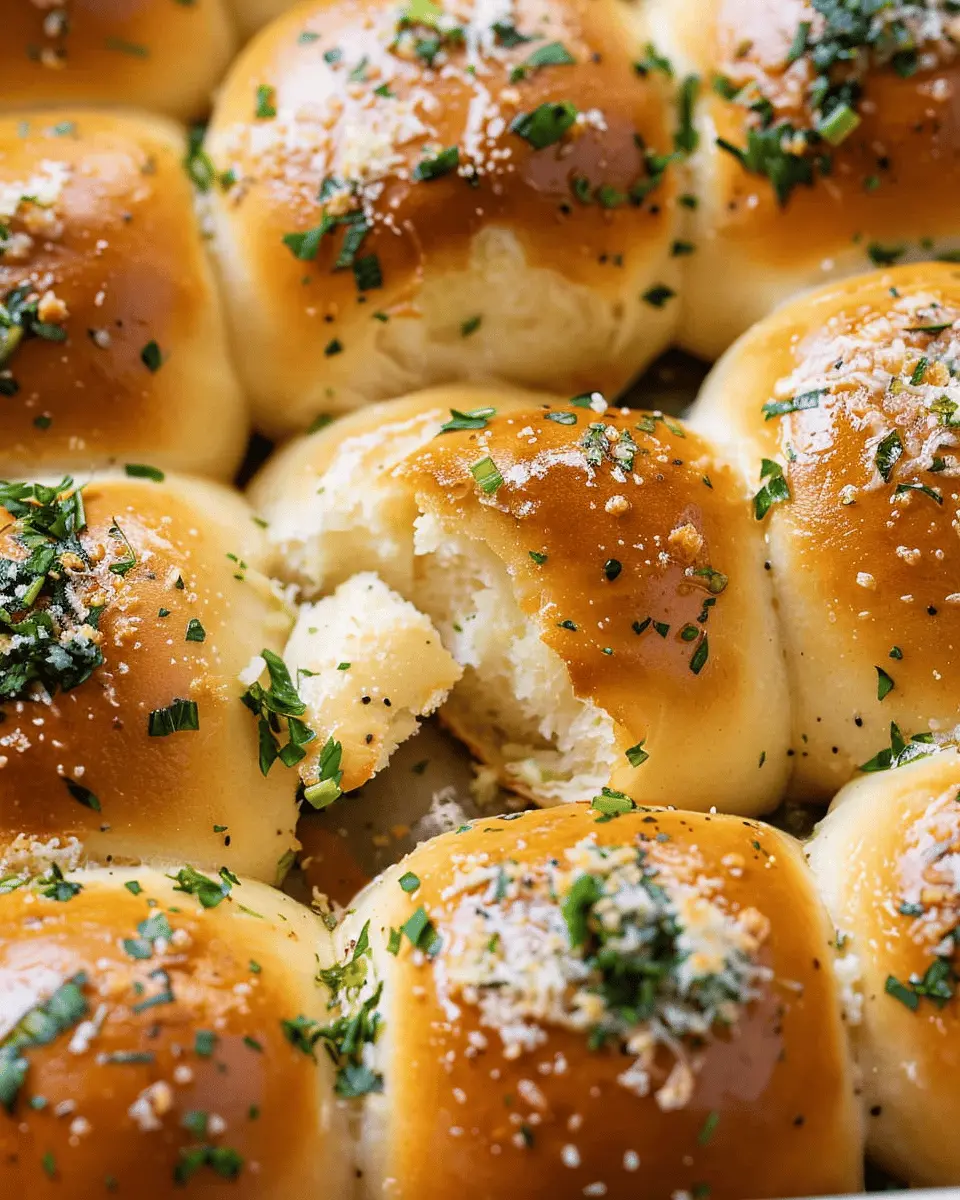
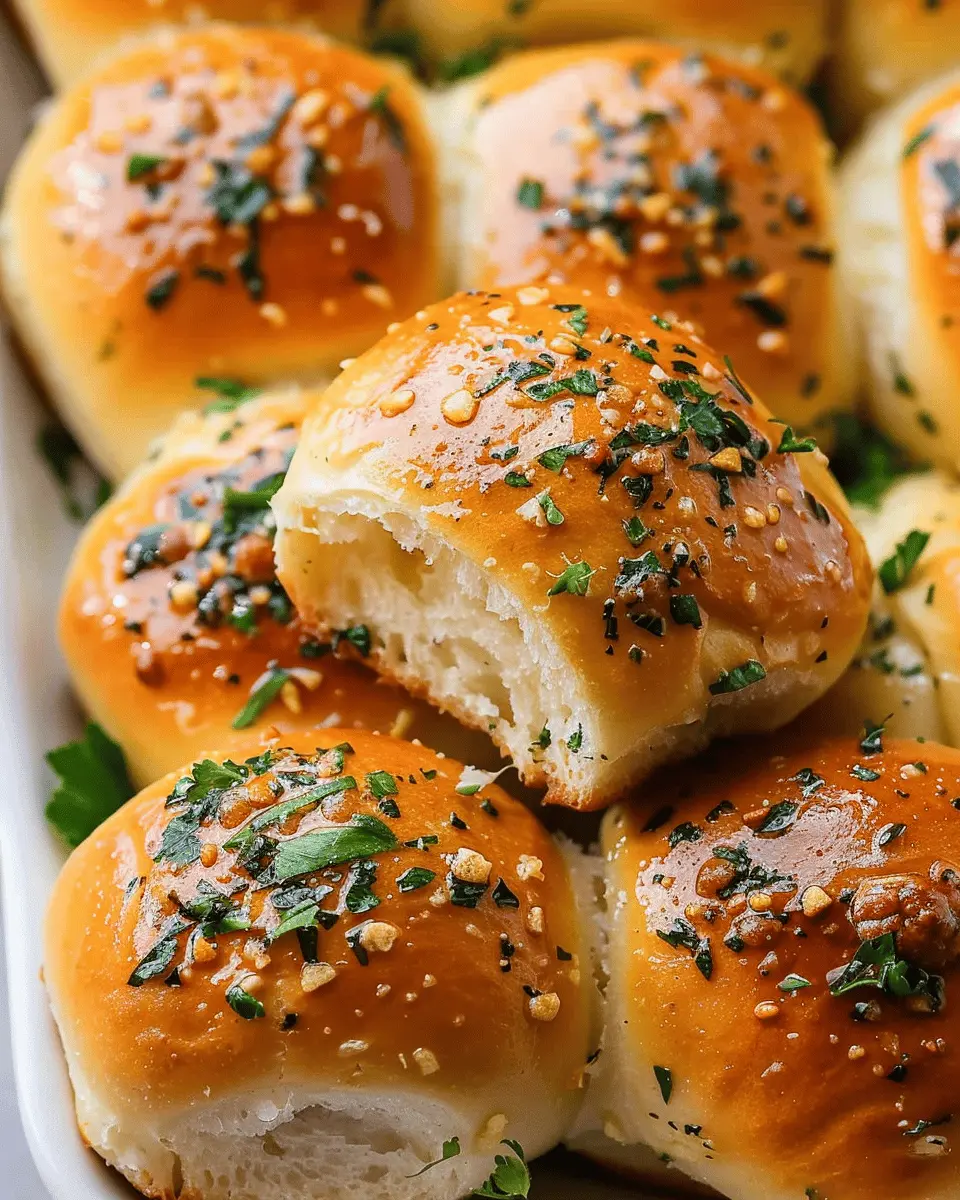
When it comes to comfort food, nothing quite delights the senses like Garlic Bread Rolls. Imagine tearing open a soft, freshly-baked roll, releasing a heavenly aroma of garlic and herbs that instantly elevates any meal. If you haven’t tried making these at home, you are in for a treat. Not only are they simple to prepare, but they’ll impress your friends and family with their delightful flavor.
Why Garlic Bread Rolls are a Must-Try for Homemade Meals
Garlic Bread Rolls can easily be the star of your dinner table. Their buttery, garlicky goodness pairs seamlessly with a variety of dishes, from rich pasta to light salads. Plus, the homemade vibe adds a personal touch that store-bought options simply can’t match.
-
Versatile Pairing: These rolls can complement almost any dish. Whether you’re serving a hearty beef stew or a fresh Mediterranean chicken salad, they enhance the overall dining experience. A study from the Journal of Culinary Science & Technology emphasizes how bread can elevate mealtime pleasure, making it a staple in many cultures.
-
Simple Ingredients: Most of the ingredients needed for Garlic Bread Rolls are staples in your pantry: flour, yeast, garlic, and butter. This means you can whip up a batch even on a weeknight. Who doesn’t love an easy recipe that yields big flavor?
-
Good for Any Occasion: From casual family dinners to elegant gatherings, these colorful rolls fit right in. Try serving them alongside a homemade soup or as a fun appetizer dip into a rich marinara sauce. They add a comforting feel that resonates with everyone.
-
Quick and Easy to Make: You don’t need to be a baking expert to craft these rolls. With a bit of kneading and some rising time, you’ll have delicious rolls in no time. Plus, the experience of baking can be quite therapeutic—so why not invite friends over for a baking session?
If you’re ready to make a wonderful addition to your meals, keep reading for the full Garlic Bread Rolls recipe that will have your taste buds dancing!
Ingredients for Garlic Bread Rolls
Essential ingredients for perfect garlic bread rolls
Creating the ultimate Garlic Bread Rolls starts with a few essential ingredients that work in harmony to deliver that irresistible flavor. Here’s what you’ll need:
- All-purpose flour: The backbone of your rolls, providing structure.
- Active dry yeast: This will make your rolls rise, giving them that fluffy texture.
- Warm water: Activate the yeast and help the dough come together; aim for about 110°F.
- Garlic: Freshly minced or crushed for that rich, aromatic quality.
- Butter: Melted, to brush on top and mix into the dough for moisture and flavor.
- Salt: Enhances flavor and strengthens the dough.
- Parsley: Fresh or dried, adds a lovely touch of color and herbaceous notes.
Optional ingredients for customization
Want to take your Garlic Bread Rolls to the next level? Consider adding these optional ingredients for a twist:
- Cheese: Mozzarella or cheddar can be mixed into the dough or sprinkled on top before baking.
- Turkey Bacon or Chicken Ham: Add a savory bite for those who enjoy a heartier roll.
- Italian herbs: Basil, oregano, or thyme can elevate the herbal notes in your rolls.
With these ingredients, you’re well on your way to crafting delicious Garlic Bread Rolls that will impress friends and family alike. Happy baking!
For expert tips on dough rising, check out this guide on King Arthur Baking.
Preparing Garlic Bread Rolls
Making Garlic Bread Rolls is not just about getting the recipe right; it’s an experience that fills your kitchen with incredible aromas and warms your heart. With a simple process and a handful of ingredients, you’ll be on your way to creating the ultimate savory treat. Let’s dive into the preparation steps!
Gather your equipment and ingredients
Before jumping into cooking, let’s set ourselves up for success by gathering everything you’ll need. Here’s your checklist:
Equipment:
- Mixing bowls (preferably one large and one medium)
- A baking sheet lined with parchment paper
- Measuring cups and spoons
- A rolling pin (optional, but handy)
- A whisk or fork
- A brush for applying garlic butter
Ingredients:
- 3 cups all-purpose flour
- 1 packet (2 ¼ teaspoons) active dry yeast
- 1 ½ teaspoons salt
- 1 tablespoon sugar
- 1 cup warm water (around 110°F)
- ½ cup unsalted butter, softened
- 4 cloves garlic, minced
- ¼ cup fresh parsley, chopped (or 1 tablespoon dried)
With everything in place, you’re ready to whisk up some deliciousness!
Make the garlic butter mixture
The garlic butter is the star of the show for your Garlic Bread Rolls. Start by combining softened unsalted butter, minced garlic, and chopped fresh parsley in a medium bowl. Mix them well until they form a nice, cohesive blend.
You might be wondering why fresh parsley? According to Healthline, fresh herbs like parsley are not just flavor enhancers, but they also pack a nutritional punch! Who knew flavor could be so good for you?
Combine dry ingredients for dough
Next up, it’s time for the dry ingredients. In your large mixing bowl, combine the flour, salt, sugar, and active dry yeast. Whisk them together until fully integrated. It’s important to mix the dry ingredients well to ensure that the yeast is evenly distributed, which will help your rolls rise beautifully.
Add wet ingredients and knead the dough
Now we’ll bring it all together. Gradually add the warm water to your dry ingredient mix while stirring with a wooden spoon or spatula. Once it’s too tough to mix, get your hands in there and start kneading! Knead for about 5-7 minutes until the dough is smooth and elastic.
Don’t be afraid to get your hands a little messy; that’s part of the magic. Plus, kneading burns calories, so you can enjoy those rolls guilt-free!
Shape the rolls and let them rise
Once kneaded, shape your dough into a ball and place it in a lightly greased bowl. Cover it with a damp towel or plastic wrap, and let it rise in a warm, draft-free area. This could take about an hour or until it doubles in size. Your dough will be alive with the help of that yeast—how cool is that?
Bake the rolls to golden perfection
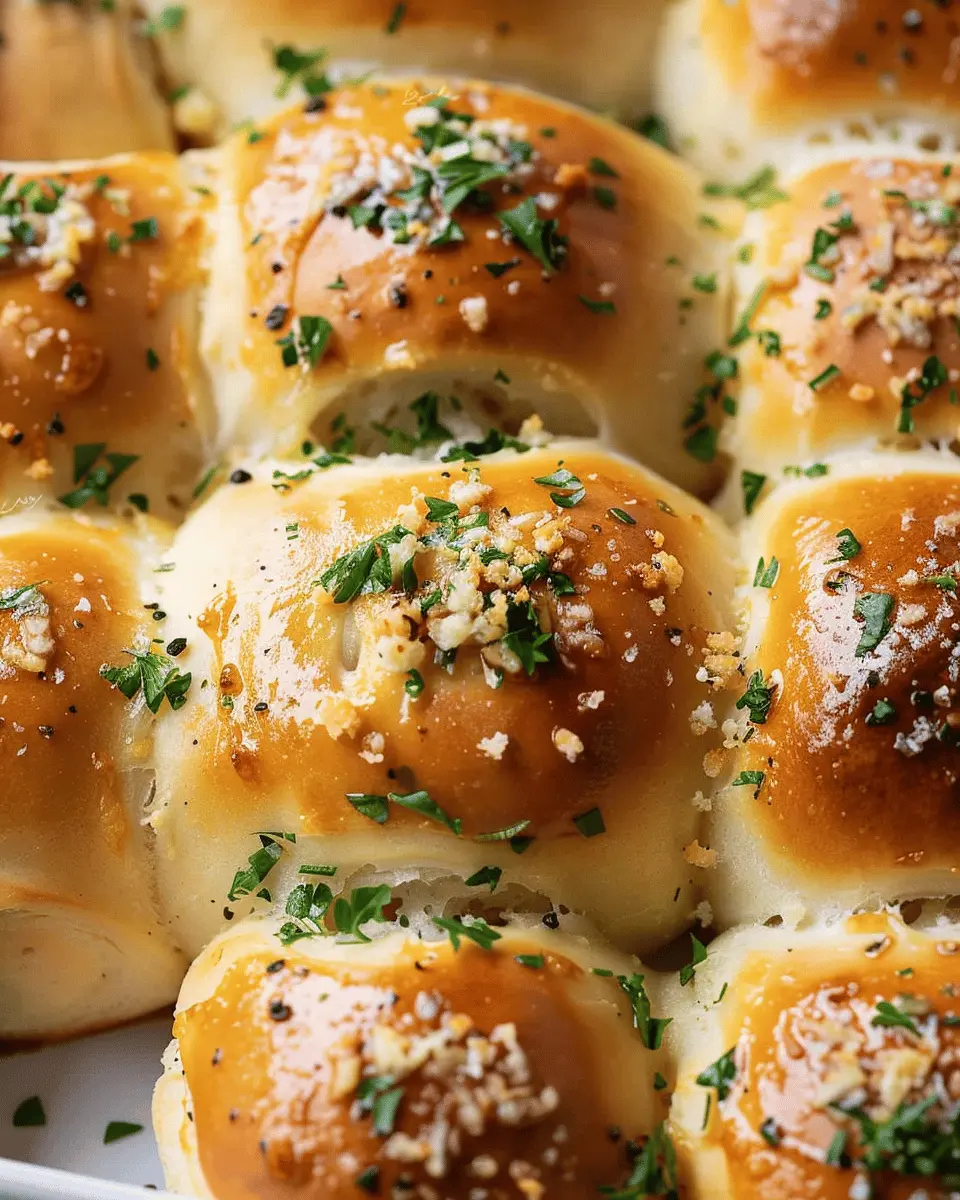
Preheat your oven to 375°F (190°C). After your dough has risen, punch it down to release any air, and divide it into equal pieces—about 12 rolls. Shape each piece into a ball and place them on your prepared baking sheet. Bake them in your preheated oven for 20-25 minutes or until they’re golden brown. The aroma wafting through your kitchen will be utterly irresistible.
Brush with garlic butter and serve
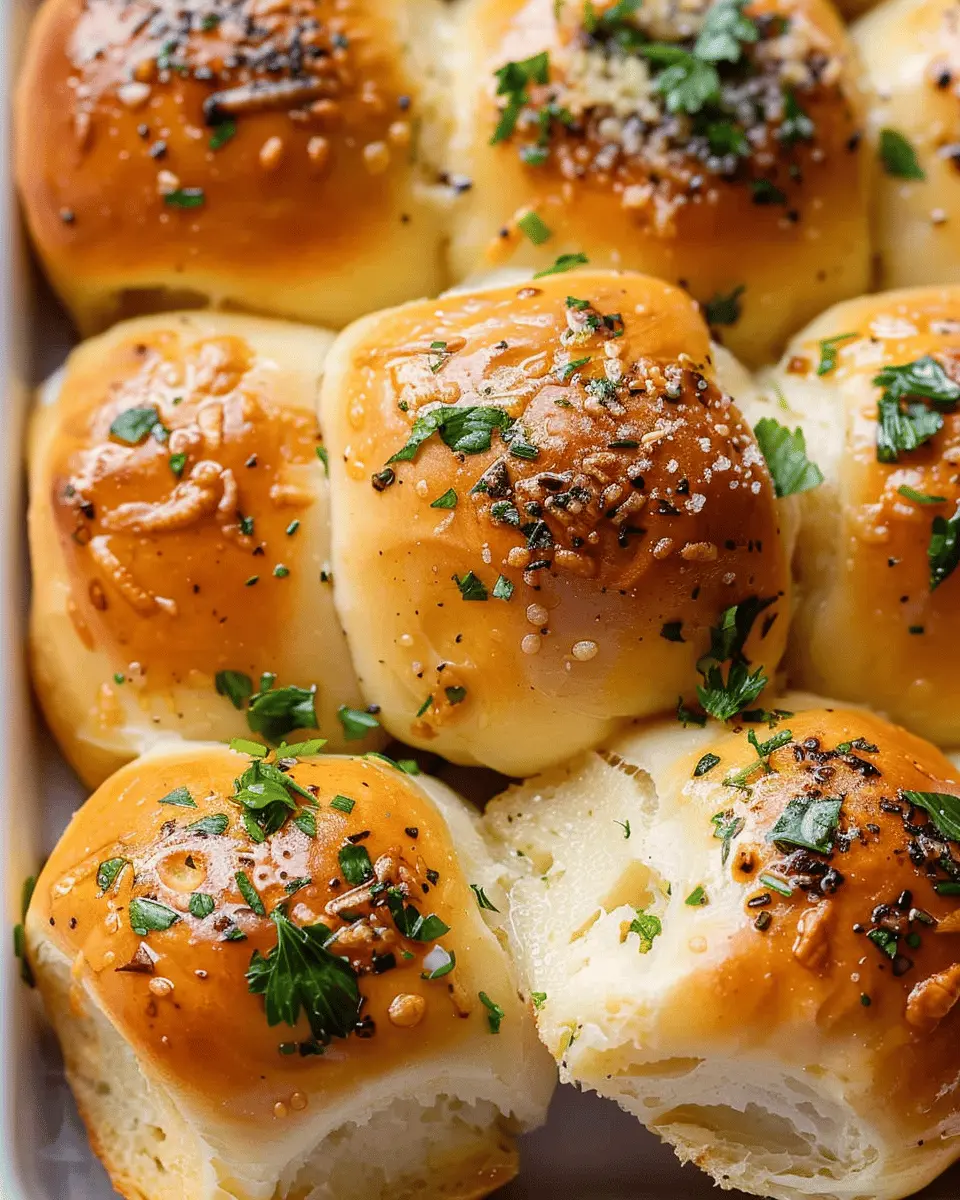
Finally, as soon as those delicious Garlic Bread Rolls come out of the oven, brush them with the remaining garlic butter mixture for that final touch. This will not only add flavor but give them a shiny, appealing look. You can serve them warm right away, or let them cool slightly before serving.
So there you have it! An easy guide to preparing Garlic Bread Rolls that’s both delicious and rewarding. Whether you’re hosting a dinner party or simply enjoying a cozy night in, these rolls are sure to impress. Don’t forget to share your creations with friends and family—happy baking!
Variations on Garlic Bread Rolls
Garlic bread rolls are a delightful staple, perfect for pairing with a variety of meals or enjoying on their own. But why stop at the classic version? Here are two delicious variations that will elevate your garlic bread roll experience.
Cheesy Garlic Bread Rolls
Who doesn’t love cheese? Transform your garlic bread rolls into a gooey, cheesy delight that’s perfect for sharing (or not!).
- Ingredients to Try: Incorporate mozzarella or cheddar into your filling for that extra pull. You can also sprinkle some Parmesan on top for a savory kick.
- How to Make: Simply add shredded cheese to the garlic butter mixture before spreading it onto the dough. When baked, the cheese will melt beautifully, creating a gooey center and a crispy exterior.
Feeling adventurous? Why not check out Serious Eats, where they discuss the different types of cheeses that work well in baking.
Herb-Infused Garlic Bread Rolls
If you want something a bit lighter yet equally flavorful, herb-infused garlic bread rolls are your answer. Fresh or dried herbs can elevate the taste profile significantly.
- Herb Options: Consider mixing in basil, parsley, or thyme into your garlic butter. The fresh herbs not only enhance flavor but also add a splash of color.
- Baking Tip: Just as with cheese, fold the herbs into the garlic butter before applying to the dough. This method infuses every bite with aromatic goodness.
To deepen your herb knowledge, visit The Spruce Eats for expert insights.
By trying these variations, you’ll not only impress your friends but also discover new flavor profiles that will make your garlic bread rolls a hit at every gathering!
Baking Notes for Garlic Bread Rolls
Tips for Measuring Ingredients Correctly
Getting your ingredient measurements right is crucial for the perfect Garlic Bread Rolls. Here are some helpful tips:
- Use a kitchen scale: For dry ingredients, grams can be more accurate than cups. This is especially important for flour, as a cup can vary greatly based on how you measure it.
- Spoon and level: If you’re using cups, spoon flour into the measuring cup and level it off with a knife—don’t scoop it directly from the bag.
For more on kitchen measurement techniques, check out Serious Eats.
Best Practices for Yeast Activation
Activating yeast properly is key for those fluffy, airy rolls. Here’s how to do it right:
- Check your yeast’s expiration date: Old yeast may not activate.
- Use warm water: Ideally between 100°F – 110°F (38°C – 43°C). Too hot can kill the yeast, and too cold may not activate it.
- Give it time: Allow your yeast to foam for about 5-10 minutes before mixing it into the dough. This ensures it’s alive and kicking!
Activating yeast can be a bit tricky, but with these tips, your Garlic Bread Rolls will rise beautifully. Happy baking!
Serving Suggestions for Garlic Bread Rolls
Pairing Garlic Bread Rolls with Main Dishes
Garlic bread rolls are a versatile addition to any meal, ideal for complementing a variety of main dishes. Consider pairing these delightful rolls with:
- Hearty soups, like minestrone or creamy tomato, to soak up every delicious drop.
- Grilled chicken or turkey bacon, where the rolls can serve as a tasty sidekick, adding a garlicky kick to your barbecue nights.
- Pasta dishes, especially those with creamy or marinara sauces, allowing the rolls to balance out the meal with their rich flavor.
- Salads, to add that satisfying crunch and enhance texture.
For more inspiration on meal pairings, check out this article on food pairings that dives deeper into what goes well with garlic-flavored items.
Creative Uses for Leftover Garlic Bread Rolls
Don’t let any leftover garlic bread rolls go to waste! Here are some inventive ways to utilize them:
- Make a delicious crouton: Dice the rolls and bake until crispy for a perfect addition to your salads.
- Create a unique breadcrumb topping: Blitz them into crumbs to sprinkle over casseroles or mac and cheese for added flavor and crunch.
- Dynamic French toast: Transform your rolls into a savory French toast by dipping in egg batter and pan-frying for breakfast.
These simple ideas can help reduce waste while adding delightful twists to your regular meals.
Cooking Tips and Notes for Garlic Bread Rolls
How to Achieve the Softest Texture
To whip up the softest Garlic Bread Rolls, consider the following tips. Start with warm ingredients: using warm milk or water (not hot) will help activate the yeast effectively. Also, include a bit of fat – like butter or oil – in your dough. This not only enhances the flavor but also tenderizes the bread.
Kneading matters too! Go for about 8-10 minutes; you’ll want the dough to be smooth and elastic. For an ultra-soft finish, allow your rolls to rise until they double in size, which you can do in a warm, draft-free area.
Storing and Reheating Tips for Maximum Freshness
Let’s talk about keeping those scrumptious Garlic Bread Rolls fresh and delightful. After baking, allow them to cool completely, then store in an airtight container at room temperature. They’ll stay good for about 2-3 days.
If you need them to last longer, consider freezing them: wrap each roll in plastic wrap and then place them in a freezer bag. They can be frozen for up to 3 months! When you’re ready to enjoy again, simply thaw at room temperature and reheat in the oven at 350°F for about 10-15 minutes. This method will help to maintain their soft, fluffy texture — just like fresh out of the oven!
For more storage and reheating tips, you can check out the USDA’s guide on food storage to help you maximize your kitchen skills. Cooking is all about experimenting, so don’t hesitate to adjust based on your preferences!
Time Breakdown for Garlic Bread Rolls
When you’re excited to whip up some delicious Garlic Bread Rolls, knowing how much time you’ll need can really help you plan your evening. Here’s a handy time breakdown to keep you on track!
Preparation Time
The initial prep takes about 15 minutes. Mixing the ingredients and shaping the rolls is satisfying and quick!
Rising Time
After you shape your Garlic Bread Rolls, they need some love. Allow them to rise for around 1 hour. This step is crucial for that fluffy texture!
Baking Time
Baking the rolls takes about 20 minutes in the oven. Your kitchen will smell incredible, and you’ll be eagerly awaiting that first bite.
Total Time
From start to finish, plan for about 1 hour and 35 minutes. It’s a small investment for a delightful treat that pairs perfectly with any meal!
If you’re interested in more tips on enhancing your baking experience, check out this article on bread baking techniques for deeper insights!
Nutritional facts for Garlic Bread Rolls
When you’re digging into Garlic Bread Rolls, it’s important to be mindful of their nutritional profile. Let’s break it down to help you enjoy them guilt-free.
Calories per roll
Each Garlic Bread Roll packs about 150 calories, making it a tasty yet manageable treat within a balanced diet.
Carbohydrate content
With roughly 25 grams of carbohydrates per roll, these are a delightful way to satisfy your carb cravings. The majority come from the flour, but you’ll also get the benefits of garlic’s antioxidants.
Protein and fat levels
You’ll find around 3 grams of protein and 5 grams of fat in each roll. While the fat content is primarily from butter, it’s all about moderation—pair these rolls with a side salad for a more balanced meal.
For more insights on how bread can fit into your lifestyle, check out the Whole Grains Council. Remember, enjoying your favorite foods, like Garlic Bread Rolls, is all about finding that sweet spot between indulgence and nutrition!
FAQs about Garlic Bread Rolls
Can I make garlic bread rolls in advance?
Absolutely! Garlic bread rolls can be prepared in advance, which is perfect for those busy weeknights or gatherings. After preparing the dough and shaping the rolls, you can place them in the fridge overnight. When you’re ready to bake, just let the rolls come to room temperature for about 30 minutes before popping them in the oven. If you want to go a step further, you can even freeze the unbaked rolls. Wrap them tightly in plastic wrap and store them in an airtight container. When you’re ready to enjoy them, let them thaw in the fridge overnight and bake as usual.
What’s the best way to store garlic bread rolls?
To keep your garlic bread rolls fresh, it’s essential to store them correctly. Once cooled, place your rolls in an airtight container or zip-top bag. This will help them retain moisture and stay soft. They can usually be kept at room temperature for up to three days. For longer storage, consider freezing them—just make sure to wrap each roll individually to avoid freezer burn. Need some tips on proper freezer storage? Check out resources like the USDA website for more information.
How can I make my rolls extra garlic-y?
If you’re like me and can never have too much garlic, there are plenty of ways to amp up the flavor of your garlic bread rolls. Here are a few ideas:
- Add minced garlic: Mix extra minced garlic into the butter or oil you use for brushing the rolls.
- Infuse the butter: Gently heat the butter with garlic cloves to create a wonderfully aromatic garlic-infused butter.
- Use garlic powder: Sprinkle garlic powder into the dough for an extra kick before baking.
Between these techniques, you’ll have everyone clamoring for seconds! If you’ve still got questions, feel free to drop your queries in the comments below!
Conclusion on Garlic Bread Rolls
Emphasizing the joy of homemade garlic bread rolls
There’s something incredibly satisfying about making your own Garlic Bread Rolls. They bring that heartwarming aroma to your kitchen, evoking memories of family dinners and cozy gatherings. The blend of buttery garlic goodness wrapped in warm bread is nothing short of magical. Plus, they’re surprisingly easy to prepare, making it a perfect weekend project or last-minute addition to any meal.
As you enjoy these delightful rolls, consider experimenting with different herbs or cheeses to truly make them your own. Don’t forget to share your creations! For more tasty ideas, check out resources like Food52 for fresh inspiration.
PrintGarlic Bread Rolls: The Best Easy Recipe for Homemade Delights
A delicious and easy recipe for homemade garlic bread rolls that everyone will enjoy!
- Prep Time: 20 minutes
- Cook Time: 20 minutes
- Total Time: 1 hour 40 minutes
- Yield: 12 rolls 1x
- Category: Bakery
- Method: Baking
- Cuisine: Italian
- Diet: Vegetarian
Ingredients
- 2 cups all-purpose flour
- 1/2 cup unsalted butter
- 4 cloves garlic, minced
- 1 teaspoon dried parsley
- 1 teaspoon salt
- 1/2 teaspoon black pepper
- 1 teaspoon sugar
- 1 packet active dry yeast
- 1 cup warm water
Instructions
- In a small bowl, dissolve sugar and yeast in warm water, let it sit for 5 minutes.
- In a large mixing bowl, combine flour, salt, parsley, and pepper.
- Add melted butter and the yeast mixture to the flour, mixing until a dough forms.
- Knead the dough on a floured surface for about 5-10 minutes.
- Place the dough in a greased bowl, cover, and let rise for 1 hour.
- Punch down the risen dough and shape it into small rolls.
- Place the rolls on a baking sheet and let rise again for 30 minutes.
- Bake in a preheated oven at 375°F (190°C) for 15-20 minutes until golden brown.
- While rolls are baking, mix melted butter with minced garlic.
- Brush the garlic butter over the warm rolls before serving.
Notes
- For extra flavor, add grated Parmesan cheese to the garlic butter.
- Serve with marinara sauce for dipping.
Nutrition
- Serving Size: 1 roll
- Calories: 150
- Sugar: 1g
- Sodium: 200mg
- Fat: 8g
- Saturated Fat: 5g
- Unsaturated Fat: 3g
- Trans Fat: 0g
- Carbohydrates: 18g
- Fiber: 1g
- Protein: 3g
- Cholesterol: 20mg
Keywords: Garlic Bread Rolls, homemade garlic bread, easy bread recipe