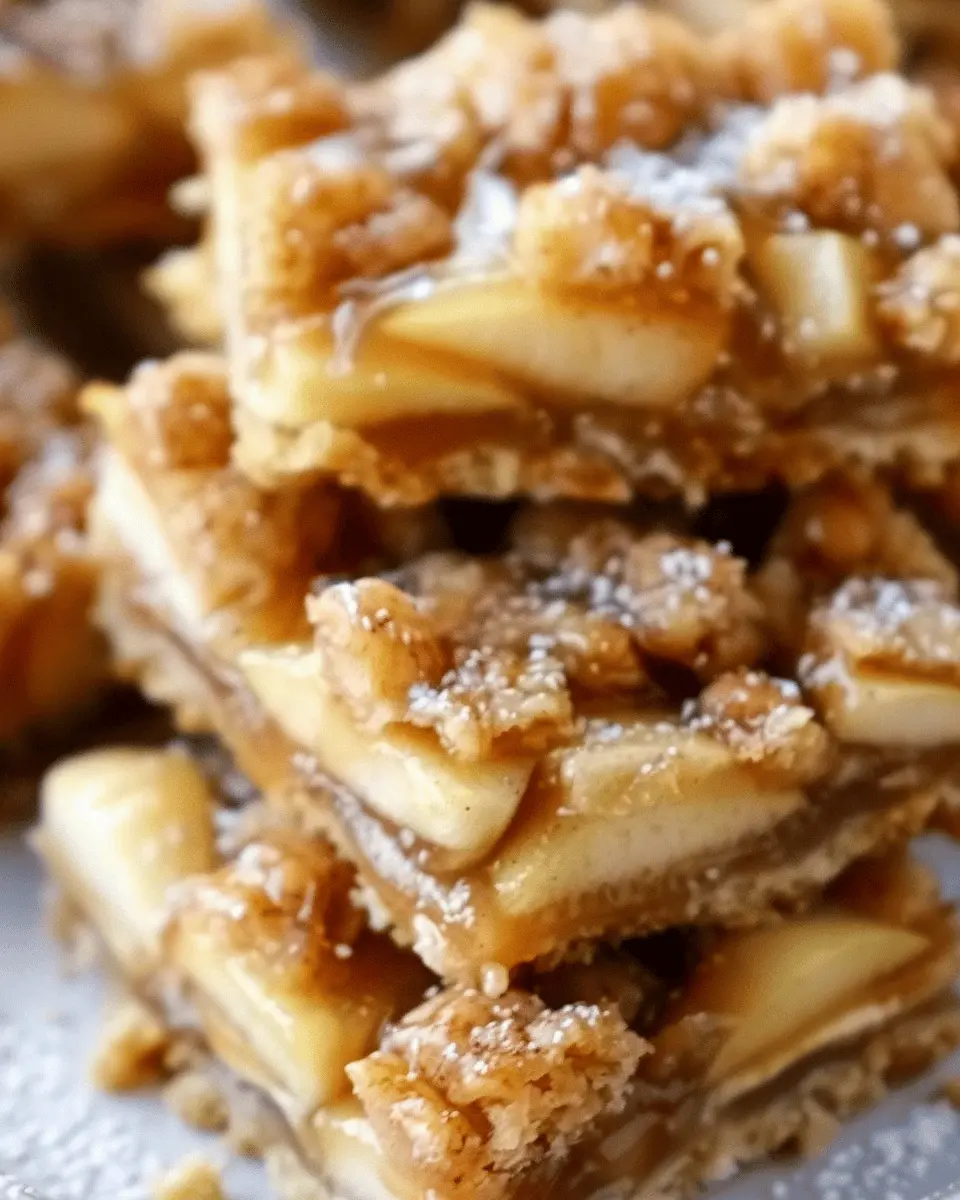
Introduction to Easy Apple Bars
When it comes to homemade treats, apple bars stand out as a comforting classic that’s perfect for any occasion. Their delightful combination of tender apples, warm spices, and a buttery crust makes them an irresistible option for an afternoon snack or a dessert. Unlike traditional pies, which can feel a bit daunting to whip up, apple bars are incredibly straightforward. With minimal ingredients and effort, you’ll be serving up smiles in no time!
Why Apple Bars Are the Perfect Homemade Treat
Have you ever had the delightful experience of biting into a freshly baked good that transports you back to your childhood? Apple bars have that magical quality. They’re not just delicious; they’re also versatile! Here are a few reasons why these bars should be a staple in your baking repertoire:
- Simplicity: Easy to prepare and bake, making them ideal for busy weeknights or last-minute gatherings. You can finish them in under an hour, not counting the cooling time.
- Portable: Perfect for potlucks, picnics, or even as a lunchbox treat. Just slice them up and enjoy on the go!
- Flavorful: The use of cinnamon and nutmeg elevates the apple flavor while appealing to a wide range of taste preferences. Not to mention, the scent of baking apple bars is sure to fill your home with warmth and comfort.
- Customizable: Feel free to switch up the recipe! You can experiment with different types of apples or even add in nuts, raisins, or a caramel drizzle for an extra special touch.
If you’re looking for a quick and delicious recipe, here’s a great source for tips on selecting the best apples, or check out this article for additional variations on apple bars.
With all these reasons to love apple bars, it’s no wonder they’ve become a beloved treat in many homes. So grab your apron, and let’s dive into the delightful world of baking these easy and scrumptious bars!
Ingredients for Apple Bars
Essential ingredients for a delicious apple bar
Crafting the perfect apple bars requires a thoughtful selection of ingredients that not only contribute to flavor but also texture. Here’s what you’ll need:
- Apples: Choose firm varieties like Honeycrisp or Granny Smith for a delightful balance of sweet and tart.
- Flour: All-purpose flour acts as the backbone of your bars; it holds everything together.
- Sugar: Granulated sugar sweetens your apple filling, while brown sugar adds a hint of molasses for richness.
- Butter: Unsalted butter is best, as it lets you control the saltiness of your bars.
- Cinnamon: Ground cinnamon enhances the apple flavor; a must-have spice!
- Oats: Rolled oats not only add texture but also a wholesome touch.
- Baking Powder: To give your bars that lovely rise.
If you’re looking to elevate your baking game, consider checking out this article for additional tips and tricks. Happy baking!
Preparing Easy Apple Bars
When autumn breezes begin to blow and apples populate your local farmer’s market, there’s nothing quite like baking up a batch of delightful easy apple bars. Not only are they adaptable, but they also provide the perfect excuse to invite friends over for coffee. Follow these simple steps and you’ll have a warm, comforting treat that everyone will love.
Preheat the oven and prepare your pan
Begin by preheating your oven to 350°F (175°C). This is crucial as it ensures even baking from the start. While the oven warms up, grab a 9×13-inch baking pan and generously grease it with butter or non-stick cooking spray. You can also line the bottom with parchment paper, which makes for easy removal later. It’s not just a trend; it truly does make your life easier (and cleanup too!).
Mix the crust and topping ingredients
Next, it’s time to create your apple bars crust. This mixture will double as the topping too! In a spacious mixing bowl, combine:
- 2 cups of all-purpose flour
- 1 cup of brown sugar
- 1 cup of rolled oats
- 1/2 teaspoon of baking soda
- 1/4 teaspoon of salt
- 1 cup of melted butter or coconut oil
Using a fork or your fingers, blend these ingredients until they resemble coarse crumbs. Remember to save about one cup of this mixture for the topping later. It can be therapeutic to mix with your hands; think of it as a mini stress reliever after a long week!
Prepare the apple filling
Now let’s turn our attention to the star of the show: the apples. Use about 4 to 5 medium-sized apples—Granny Smith or Honeycrisp varieties work beautifully. Peel, core, and slice them into thin pieces. Toss the apple slices in a bowl with:
- 1/2 cup of granulated sugar
- 1 teaspoon of cinnamon
- 1 tablespoon of lemon juice
The lemon juice not only adds a nice tang but also helps prevent the apples from browning. This method is backed by experts who suggest that acidic solutions can halt oxidation (source: USDA). Mix everything well and let it sit for about 10 minutes while the sugar draws out some moisture, creating a lovely syrup.
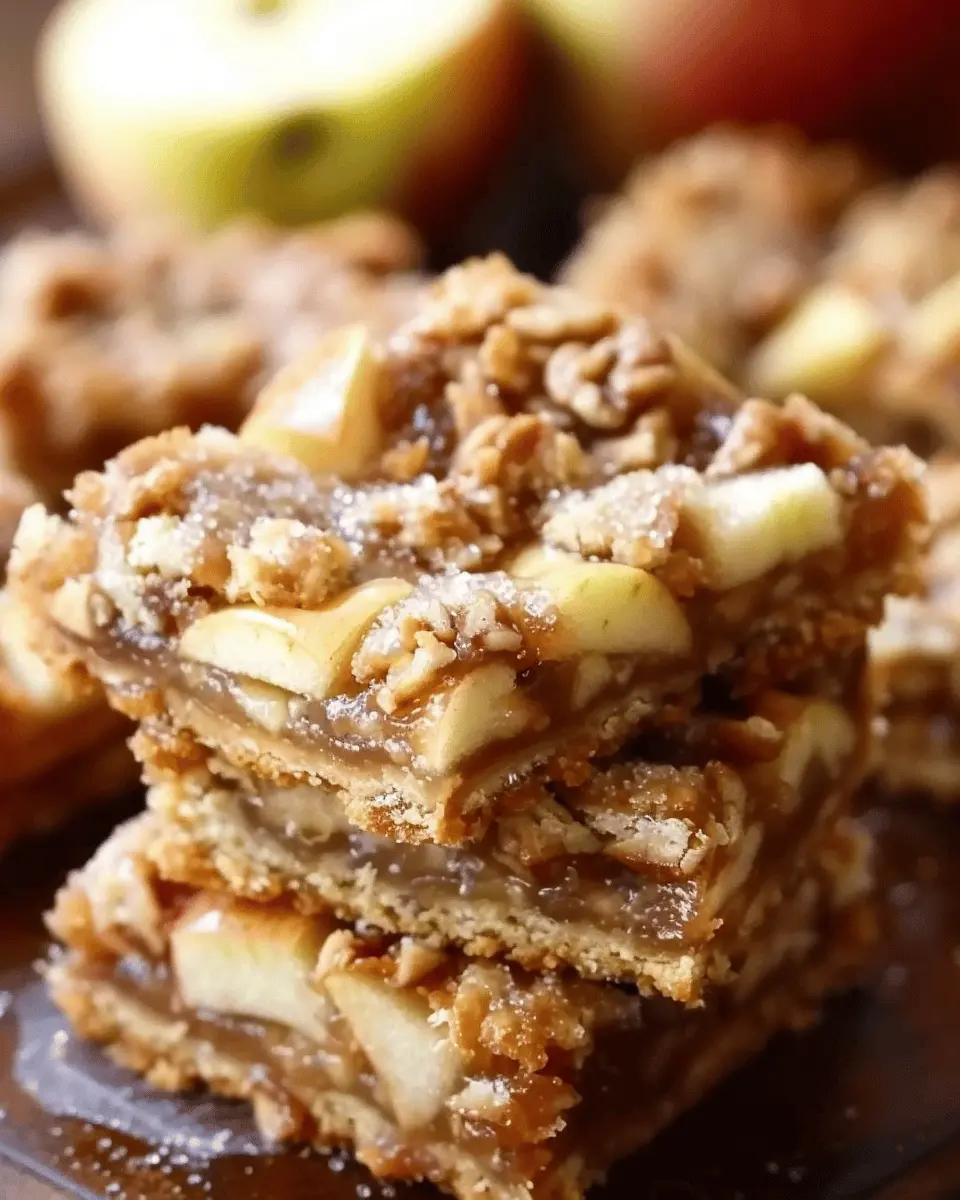
Assemble the apple bars
Now that your crust and apple filling are ready, it’s showtime! Spread half of the crust mixture evenly into your prepared pan, pressing it down lightly. This bottom layer should be sturdy enough to hold the luscious filling. Next, arrange the apple slices over the crust in an even layer, pouring any released juices on top for extra flavor. Finally, sprinkle the reserved crust mixture evenly over the apples.
If you’re in the mood for creativity, you could also add some walnuts or pecans for extra crunch. After all, who doesn’t enjoy a bit of texture in their dessert?
Bake to perfection
Pop your pan into the preheated oven and bake for about 25-30 minutes. You’ll know they’re ready when the top is golden brown and the apples are bubbling slightly. Once baked, allow the apple bars to cool in the pan for at least 15 minutes. Trust me, the wait will be worth it! Afterward, slice them into squares and serve warm with a scoop of vanilla ice cream or a drizzle of caramel sauce.
Enjoy your cozy evening with friends, delicious snacks, and perhaps a warm cup of apple cider. Celebrate the flavors of fall with these easy apple bars, because really, is there anything better than baking with apples?
Variations on Apple Bars
When it comes to apple bars, there’s a world of delicious variations just waiting to be explored. Whether you’re looking for a healthier twist or want to elevate the classic recipe, these alternatives promise to satisfy your craving for something sweet!
Gluten-Free Apple Bars
For those following a gluten-free diet, fear not! You can still relish in the goodness of apple bars. Simply swap out regular flour for a gluten-free blend, ensuring it’s one that mimics all-purpose flour for best results. Additionally, using almond meal not only adds a nutty flavor but also boosts nutrition. Many brands now offer quality gluten-free flours, making it easier than ever to whip up a batch without missing out on taste. Check out Gluten-Free Living for tips on flour substitutions!
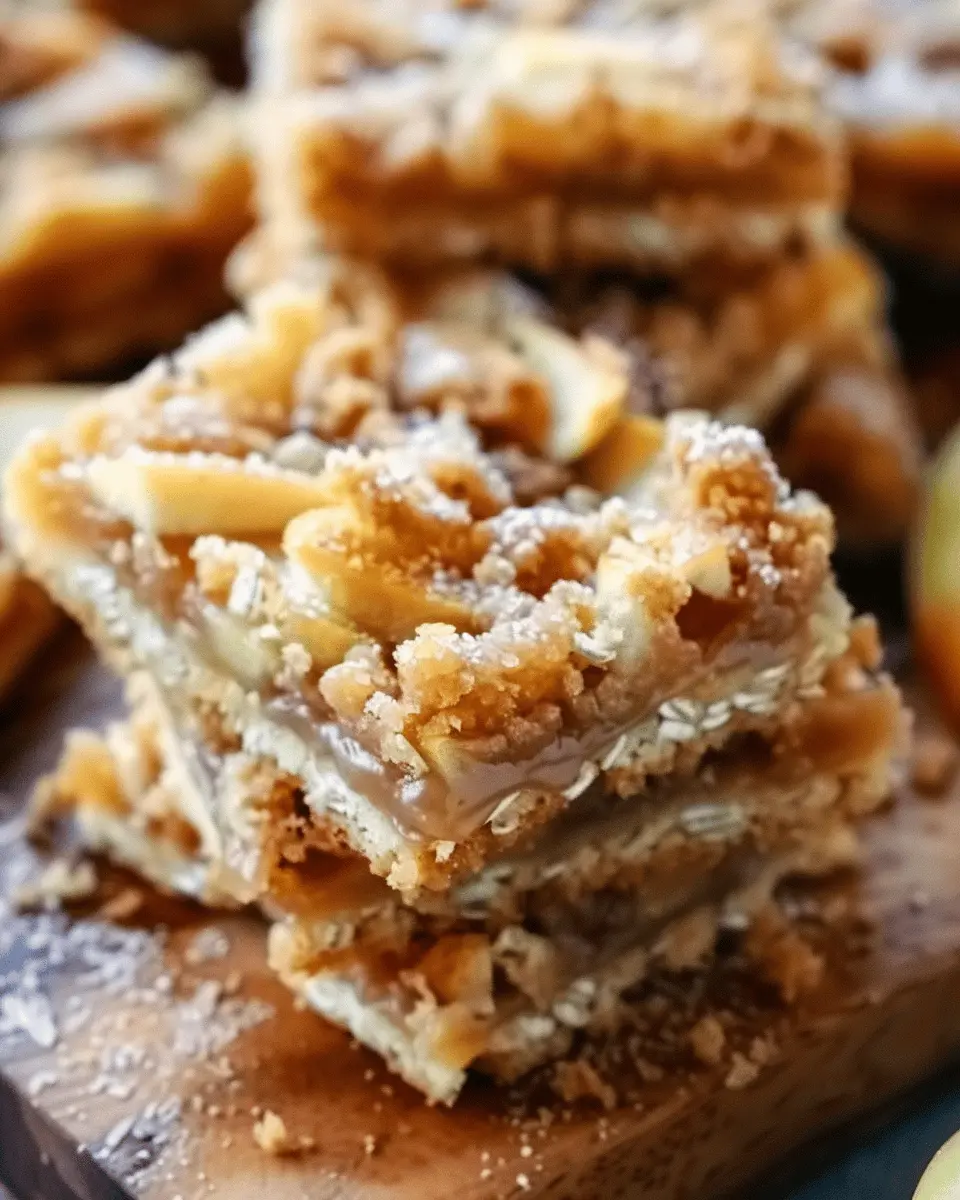
Caramel Apple Bars
Who can resist that gooey, sweet goodness? Adding a layer of delectable caramel to your apple bars creates an indulgent treat. You can either make your own caramel sauce or opt for store-bought versions for convenience. Drizzle it over the apple filling before baking or swirl it in for a delightful surprise in every bite. Not only do they taste divine, but they also make for a beautiful dessert to impress your friends.
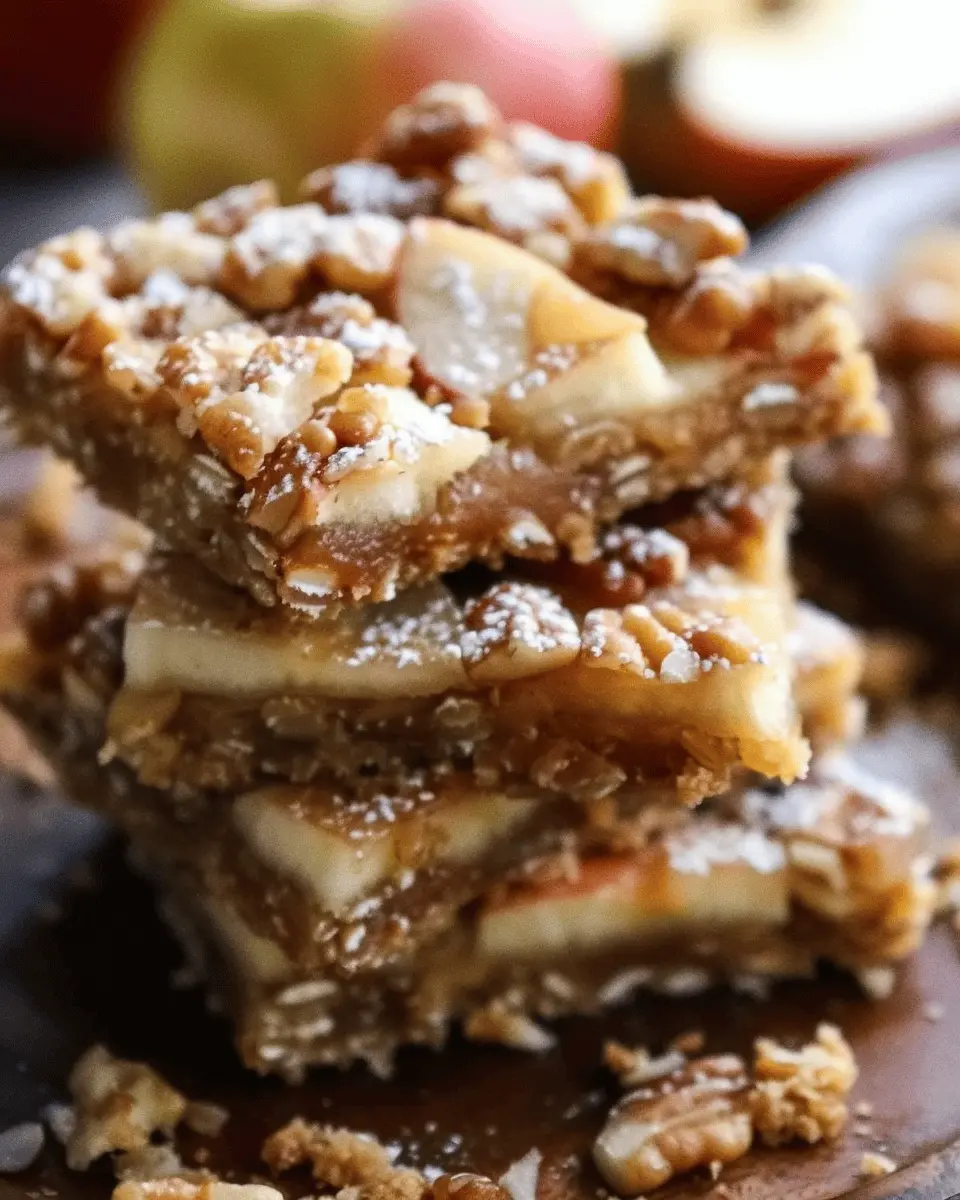
Nutty Apple Bars for Added Crunch
Craving some texture? Incorporating chopped nuts can take your apple bars to the next level. Try walnuts or pecans for a delightful crunch that pairs beautifully with the soft apple filling. Plus, nuts are a great source of healthy fats and proteins. Just be sure to toast them briefly beforehand to enhance their flavor – you’ll thank yourself later!
With these variations, your apple bars will not only be more versatile but also cater to a wider range of dietary needs and personal preferences. Which version will you bake first?
Baking Tips and Notes for Apple Bars
Common pitfalls to avoid
Baking apple bars can be a delightful experience, but a few common mistakes can stand in your way. One major pitfall is cutting the apples too thick; ensure they’re uniformly sliced for even baking. Also, avoid overmixing your batter. The more you mix, the tougher the texture becomes. If you can, let your mixture rest briefly before baking; this can enhance flavor.
How to ensure the best texture
For perfectly chewy and soft apple bars, consider these tips:
- Use fresh apples: Opt for a mix of sweet and tart varieties like Granny Smith and Honeycrisp.
- Don’t skimp on the spices: A pinch of cinnamon and nutmeg elevates flavors.
- Cool properly: Allow your bars to cool completely in the pan. This helps set the texture.
Storing leftover apple bars
If you’re fortunate enough to have leftovers, store your apple bars in an airtight container at room temperature. They’ll stay fresh for up to three days! Want to keep them longer? Freezing is an excellent option—wrap individual bars in plastic wrap, then place them in a freezer-safe bag. For more storage tips and tricks, check this article from Food Storage Guide.
Enjoy your baking journey!
Serving Suggestions for Apple Bars
Pairing with Vanilla Ice Cream
For an extra indulgent treat, consider serving your apple bars with a generous scoop of vanilla ice cream. The creamy texture of the ice cream contrasts beautifully with the warm, spiced apples, creating a delightful harmony of flavors. Not only does it provide a sweet, cooling effect, but it also enhances the overall experience – think crispy, warm goodness meeting rich creaminess. You might even want to drizzle some caramel sauce over the top for an added touch of decadence!
Enjoying with a Warm Cup of Tea
Another fantastic way to enjoy your apple bars is by pairing them with a warm cup of tea. A chamomile or chai tea works perfectly, offering soothing warmth and complementing the apple spices beautifully. Whether you’re hosting friends or enjoying a quiet evening at home, this combination elevates snack time. Plus, studies suggest that enjoying tea can bring about relaxation and even improve well-being. So why not brew a pot and indulge in this cozy experience?
For more delightful tea recipes, check out this guide that explores various tea blends and their benefits!
Time Breakdown for Apple Bars
Preparation Time
Getting started on your apple bars is a breeze! You’ll need about 15-20 minutes to prep your ingredients—peeling and slicing apples, mixing the batter, and gathering everything together. Pro tip: use a mix of tart and sweet apples for depth of flavor!
Baking Time
Once your apple bars are ready for the oven, they’ll need about 25-30 minutes to bake to golden perfection. Keep an eye on them during the last few minutes; the aroma will be irresistible, and you won’t want them to overcook.
Total Time
In total, set aside about 45-50 minutes for this delightful recipe. Investing this time will reward you with warm, delicious apple bars that are perfect for sharing or enjoying solo!
For further baking tips, check out resources from The Kitchn for more apple-based recipes!
Nutritional Facts for Apple Bars
When indulging in delicious apple bars, it’s always wise to consider the nutritional aspects. Here’s a quick overview of what you can expect from each delightful serving.
Calories per serving
Each serving of these apple bars contains approximately 150 calories. This makes them a guilt-free treat, perfect for a midday snack or a sweet addition to your breakfast.
Sugar content
Naturally sweetened with fresh apples, these apple bars offer about 8 grams of sugar per serving. This includes the sugars from the apples themselves, making it a healthier choice compared to processed sweets.
Fiber and vitamins from apples
What’s more, apples are packed with fiber and essential vitamins! Each bar contains about 3 grams of fiber, promoting digestive health. Apples are also rich in Vitamin C, which is great for boosting your immune system. To learn more about the benefits of apples, check out Healthline’s article on apple nutrition.
Incorporating apple bars into your diet not only satisfies your sweet tooth but also supports your overall well-being. Who knew enjoying dessert could feel this good?
FAQs about Apple Bars
When diving into baking delicious apple bars, you may have some questions. Here are some common ones to help your baking experience go smoothly.
How can I tell when the apple bars are done baking?
Knowing when your apple bars are perfectly baked is key to achieving that ideal texture. Look for these signs:
- Color: The top should be golden brown.
- Toothpick Test: Insert a toothpick into the center. If it comes out clean or with just a few crumbs, your bars are ready.
- Firmness: Gently press the top; it should bounce back slightly without leaving an indentation.
Remember, don’t rush it! Overbaking can lead to dry bars, so start checking a few minutes before the recommended baking time.
Can I freeze the apple bars for later?
Absolutely! Freezing apple bars is a fantastic way to enjoy them later. Just follow these steps:
- Cool Completely: Let them cool to room temperature.
- Wrap Properly: Use plastic wrap or aluminum foil, then place them in an airtight container to prevent freezer burn.
- Storage Time: They can be frozen for up to three months. Just thaw in the refrigerator overnight when you’re ready to enjoy!
For more tips on freezing baked goods, check out resources from The Spruce Eats.
What type of apples are best for making apple bars?
Choosing the right apples can make a huge difference in flavor and texture. For the best apple bars, consider these varieties:
- Granny Smith: Tart and firm, they hold their shape well.
- Honeycrisp: Sweet with a delightful crunch, perfect for balance.
- Fuji: Sweet and juicy, they provide a lovely sweetness to your bars.
Feel free to mix a couple of varieties for a depth of flavor that’s simply irresistible.
Now, you’re all set to bake some delicious apple bars! Enjoy sharing (or keeping them all to yourself) these delightful treats.
Conclusion on Easy Apple Bars
Final thoughts on why you should make these bars today
If you’ve been on the hunt for a delicious treat, look no further than these easy apple bars. They’re perfect for any occasion, whether you’re hosting a weekend gathering or just craving a cozy dessert at home. The sweet and tangy flavors of fresh apples paired with a hint of cinnamon will transport you to fall, no matter the season.
Making these bars is a breeze, and they’re a fantastic way to incorporate seasonal fruits. Plus, they double as a delightful breakfast option or a satisfying snack throughout your day. So, why wait? Dive into this simple recipe today and enjoy a slice—your taste buds will thank you! For more inspiration, check out healthline.com for various fruit-based recipes.
PrintApple Bars: Easy and Indulgent Recipe for Homemade Goodness
Indulge in the deliciousness of homemade apple bars with this easy recipe that brings comfort and flavor to your kitchen.
- Prep Time: 15 minutes
- Cook Time: 35 minutes
- Total Time: 50 minutes
- Yield: 8 servings 1x
- Category: Dessert
- Method: Baking
- Cuisine: American
- Diet: Vegetarian
Ingredients
- 3 medium apples
- 1 cup all-purpose flour
- 1/2 cup sugar
- 1/2 cup brown sugar
- 1/4 cup butter
- 2 eggs
- 1 teaspoon vanilla extract
- 1 teaspoon cinnamon
- 1/2 teaspoon baking powder
Instructions
- Preheat the oven to 350°F (175°C).
- Peel, core, and slice the apples.
- In a bowl, mix flour, sugars, baking powder, and cinnamon.
- Add melted butter, eggs, and vanilla to the dry ingredients.
- Fold in the sliced apples until evenly coated.
- Pour the mixture into a greased baking dish.
- Bake for 30-35 minutes or until golden brown.
- Let cool before serving.
Notes
- For extra flavor, consider adding nuts or raisins to the mixture.
- Serve warm with a scoop of vanilla ice cream for a delightful treat.
Nutrition
- Serving Size: 1 bar
- Calories: 200
- Sugar: 15g
- Sodium: 60mg
- Fat: 7g
- Saturated Fat: 4g
- Unsaturated Fat: 3g
- Trans Fat: 0g
- Carbohydrates: 28g
- Fiber: 2g
- Protein: 2g
- Cholesterol: 50mg
Keywords: Apple Bars, dessert, homemade